The workflow
- Open the photo in Opla. You can start from Library, an album grid, Smart Filters, search, or Date Taken.
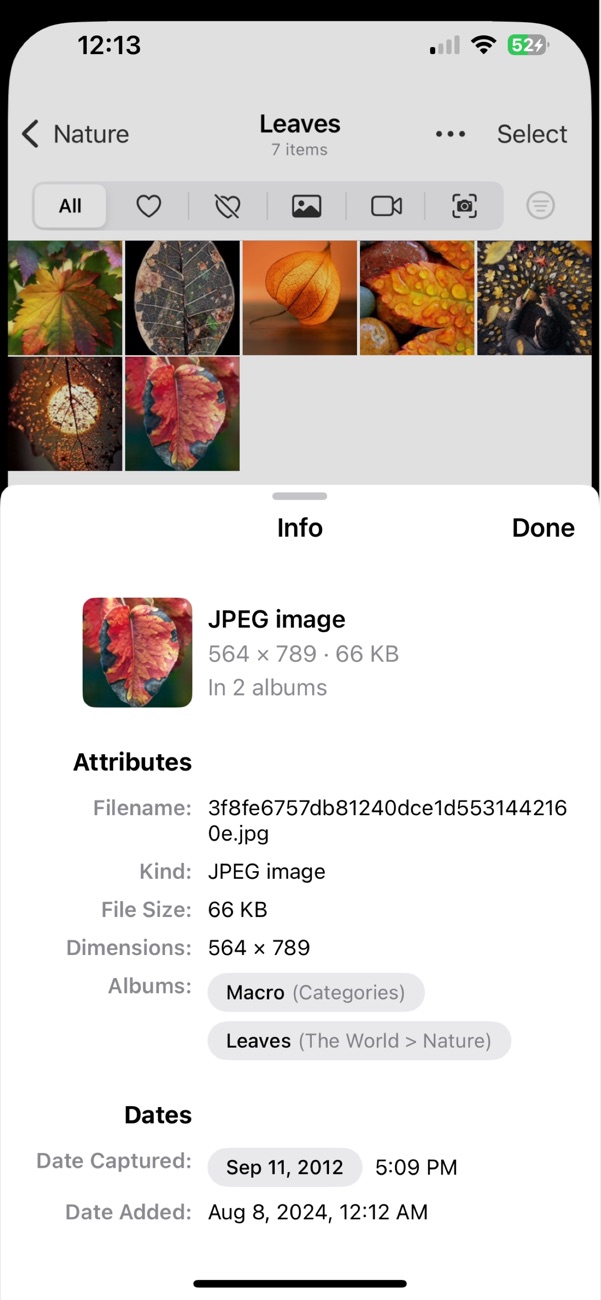
- Open Info. Use the viewer menu and choose Info.
- Read the Albums row. Opla shows the albums that contain that photo. If there are none, it tells you the item is not in any albums.
- Tap an album if you need to jump there. Album entries in the Info sheet can take you back to that album context.
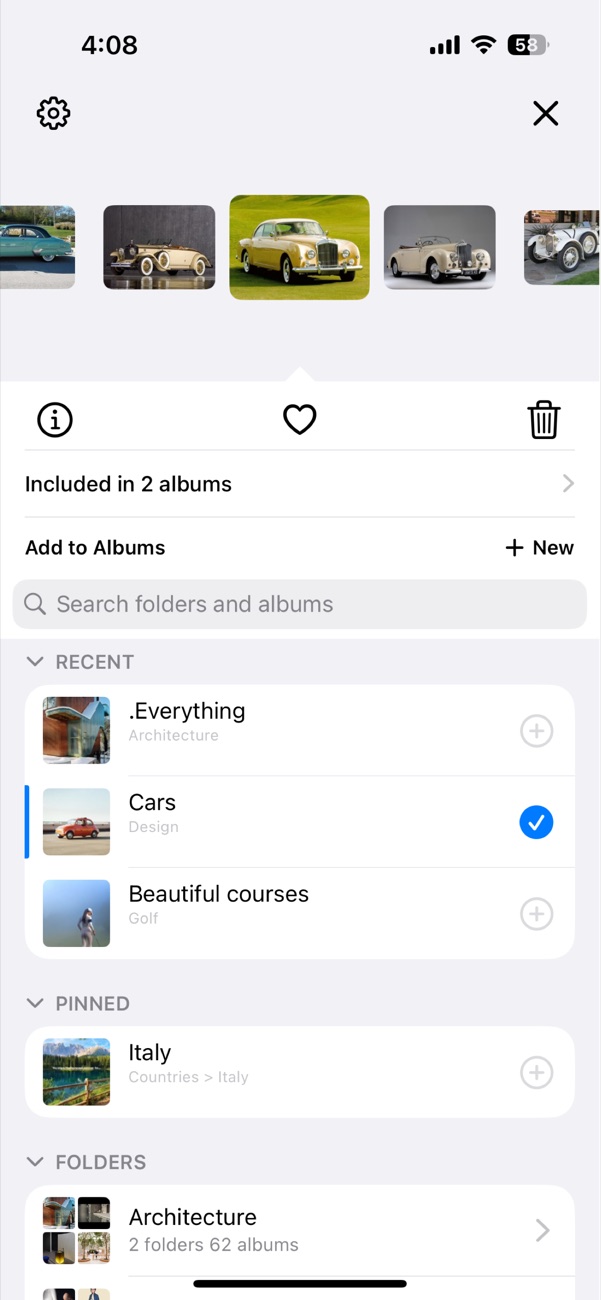
- Use Add to Albums for missing membership. From the viewer, choose Add to Albums, search or browse for the destination, and add the photo.
What this answers
This answers "where did I already file this?" It is different from search. Search finds albums by name; album membership tells you where the current photo already belongs.
Caveats
- The Albums row is about normal album membership. Apple smart views like Recents and media-type filters are not the same thing.
- Full Photos access is the honest mode. Selected Photos access can hide albums from third-party apps.
- Adding to an album does not remove the photo from other albums.
Inspect membership before you reorganize.
Opla makes album membership visible before you start moving, merging, or adding photos.